
Refinishing a Side Table?
Are you looking to refinish a side table? Do you not even know where to start?
Luckily, if this is your first DIY project of refinishing a furniture piece, a side table is a good place to start!
A side table is normally small, so it will not take too much of your time. But giving a side table a makeover can also make a big difference to the room it is in!
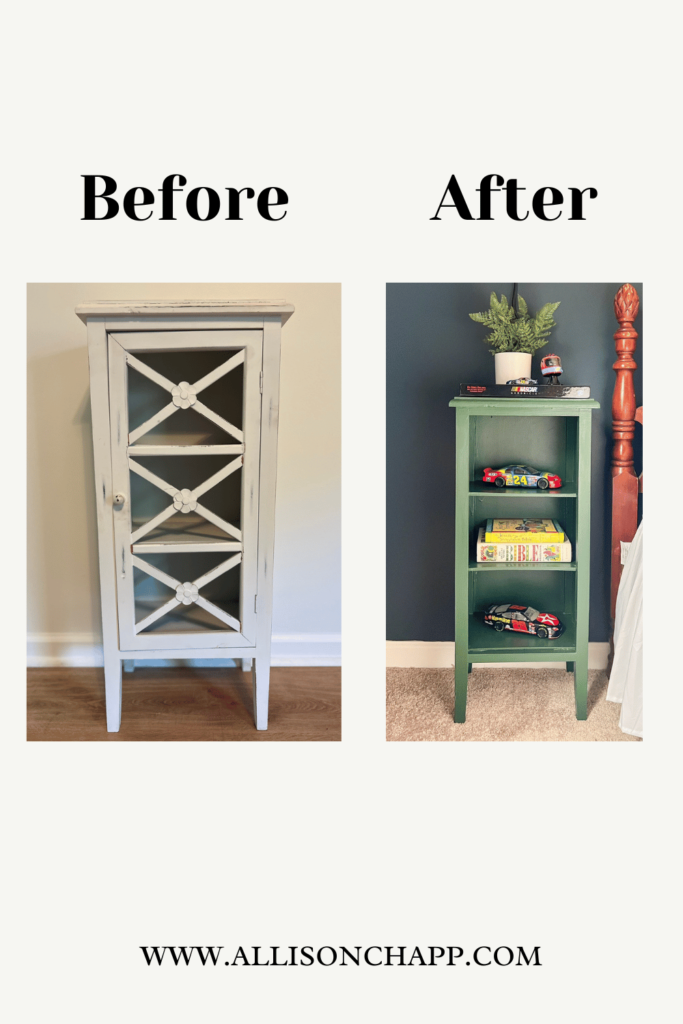
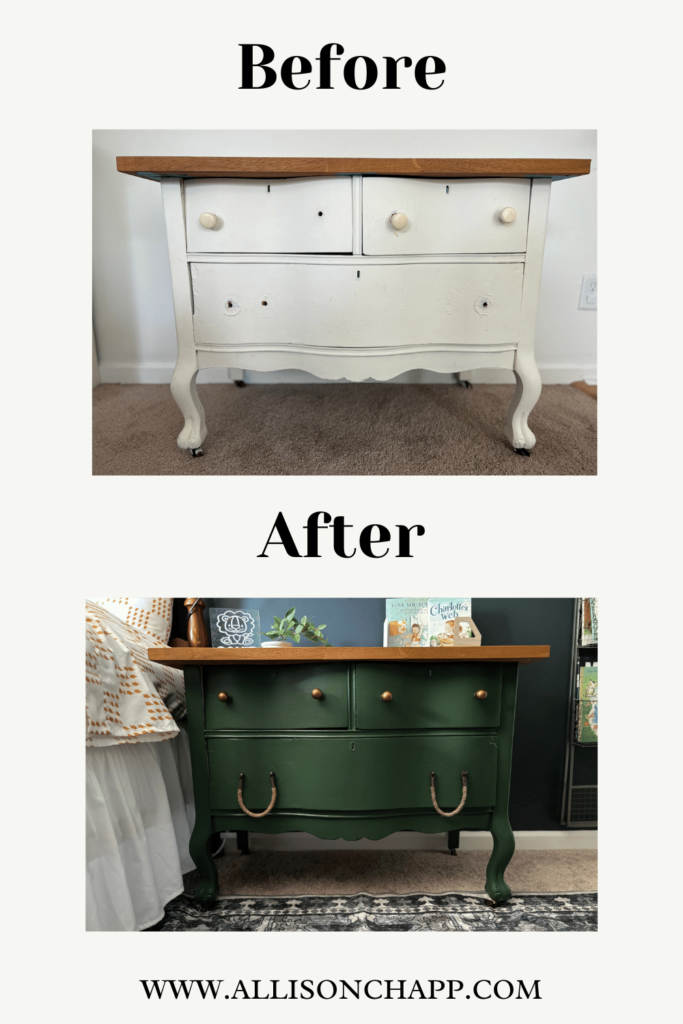
Follow along, keep reading, and watch me give to side tables we already had turn boring to fabulous in little time!
Disclosure: This post may contain affiliate links for products I use and love. If you make a purchase through one of the links I can make a small commission at no extra cost to you. Please see my Disclosure Policy here for more details.
Before and After Pictures
Supplies
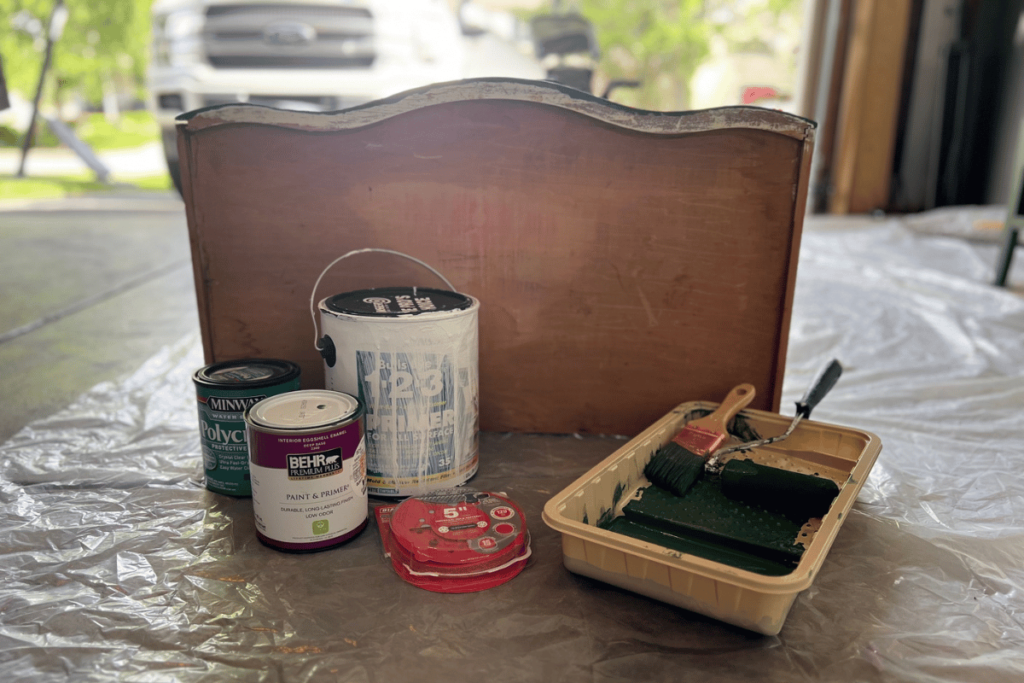
Refinishing Side Table Steps
Step 1: Plan and Move
The first thing you want to do when doing any DIY project is make a plan for the design of your project.
Pick your paint color.
Will it need new hardware? If so go ahead and pick it out and order it.
In my case, the door on one of the side tables had flowers on it and I wanted to make it look more neutral, so I made the plan to take the door off.
Once you have your plan already, move your side table to where you can work on it. (I always move the furniture I am working on in my garage to keep the smell of paint out of my house.)
Step 2: Sand
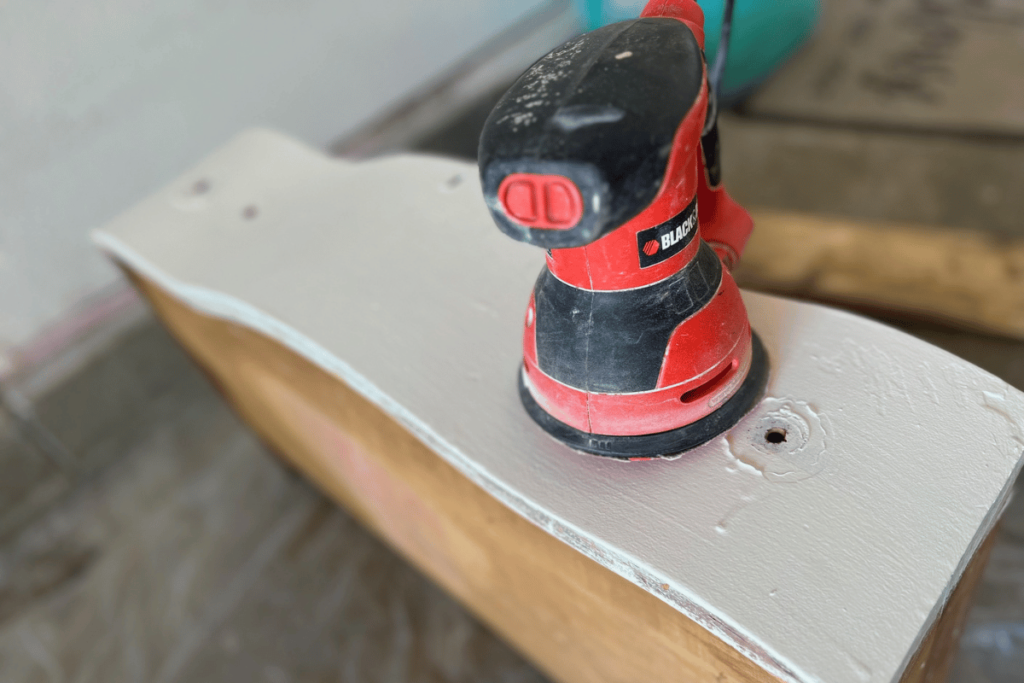
Step 2 of refinishing a side table is sanding the piece.
Whenever you are painting a piece of furniture you need to sand it first. It will give the paint something to better grasp.
And if your furniture was painted before and has any blemishes (like one of my side tables) this is your chance to sand down the blemishes and start with a nice smooth surface.
On the side tables, I use 120-grit sandpaper.
(I refinish furniture quite often, so I invested in an electric hand sander. But if you do not plan on doing this again using your hand and sandpaper will work will just fine as well. It will just take a little longer.)
Step 3: Clean
Once the side table is sanded you need to clean it next.
You need a clean surface for your paint to look good.
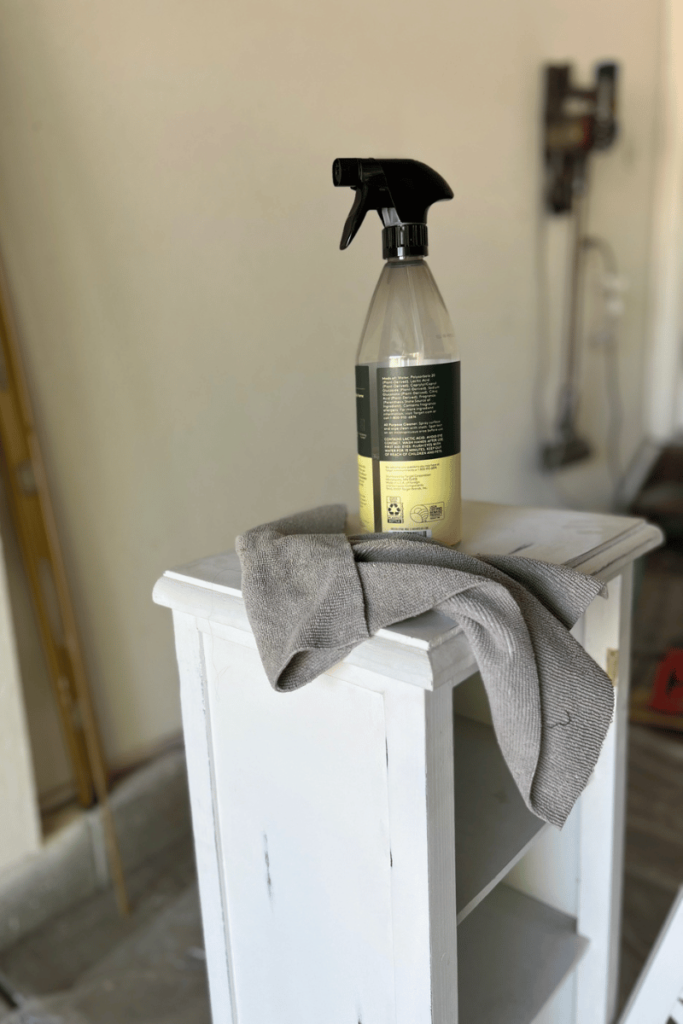
Step 4: Painters Tape
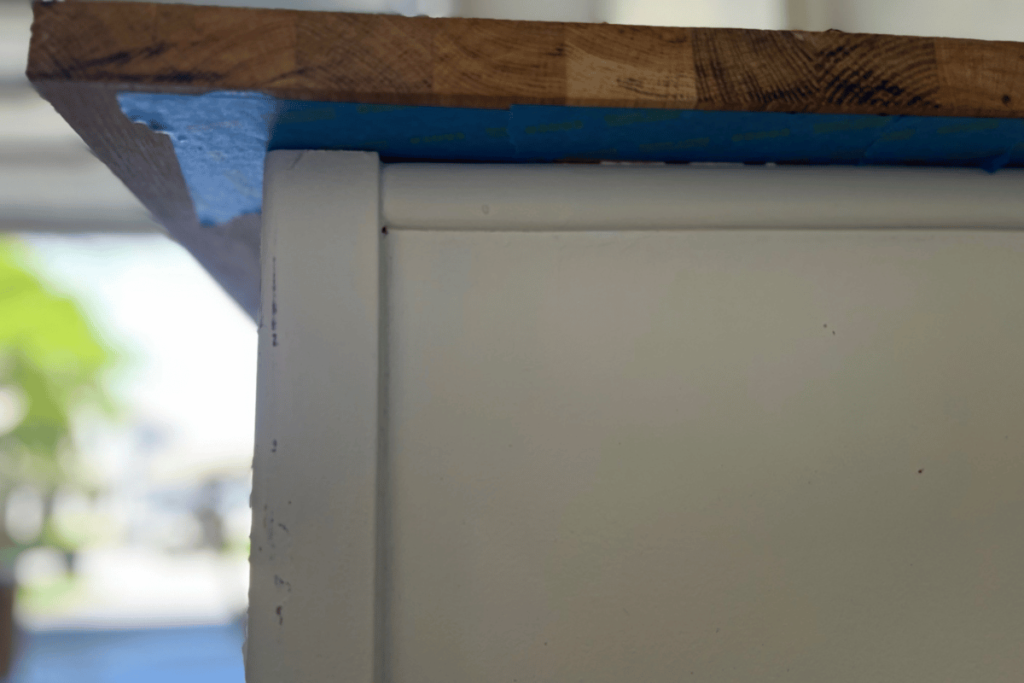
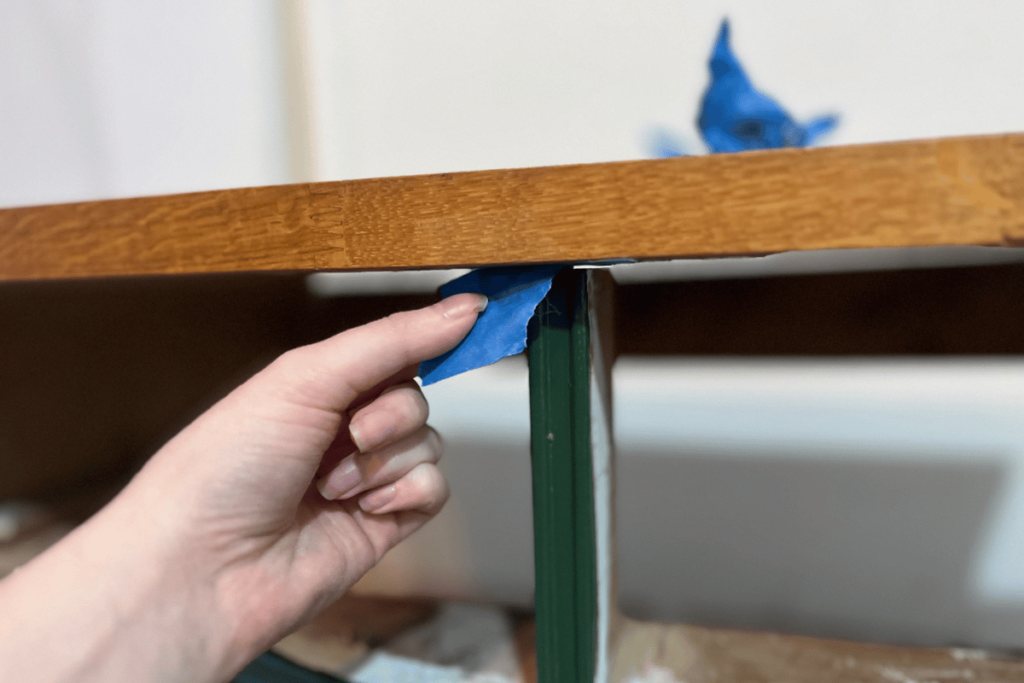
Before painting, if there is any piece of the side table you are not going to paint apply painter’s tape.
Apply the painter’s tape to where the wood you are painting and the wood you are not painting. See my photo as an example, since I did not paint the butcherblock on top of one of the side tables.
Step 5: Prime
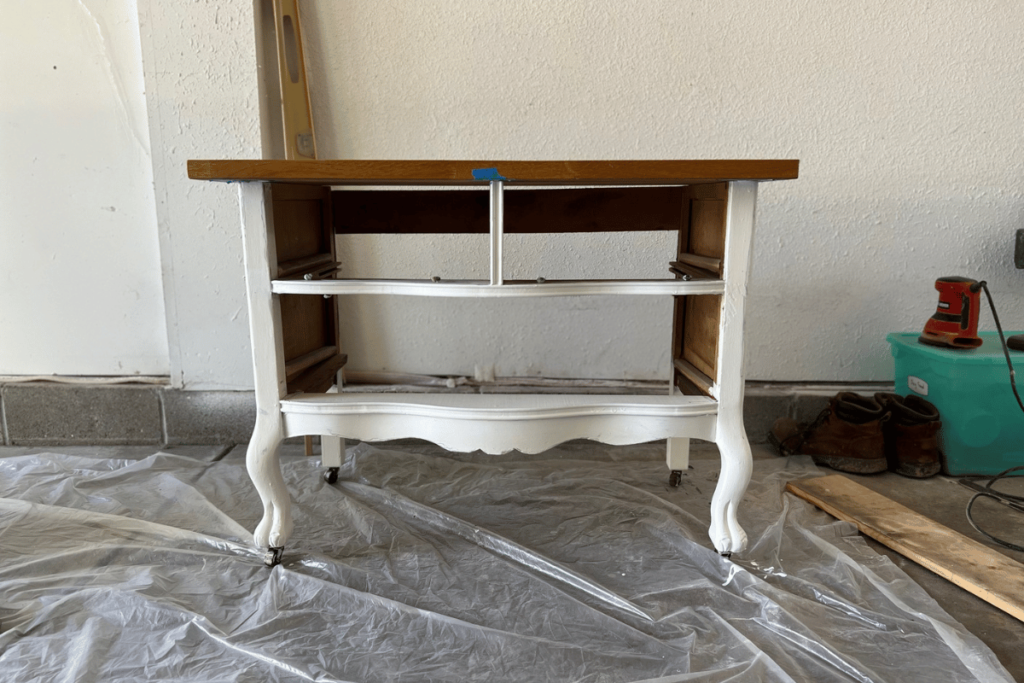
The next step in refinishing a side table is painting a coat of primer.
Your coat of primer will help make your paint last longer and help prepare the wood for your paint color.
Step 6: Paint
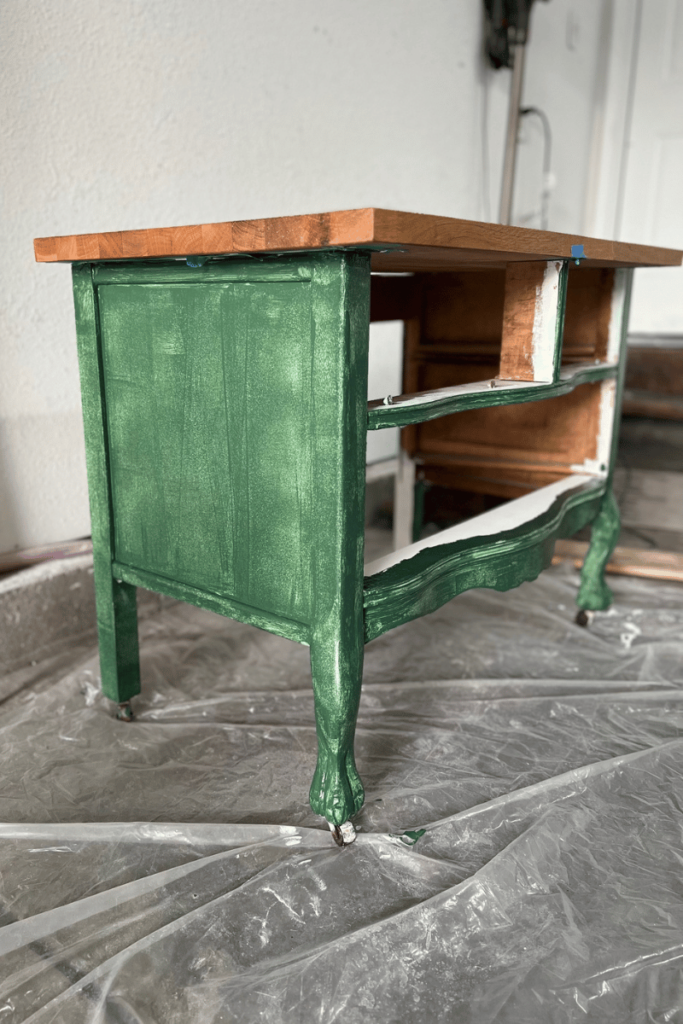
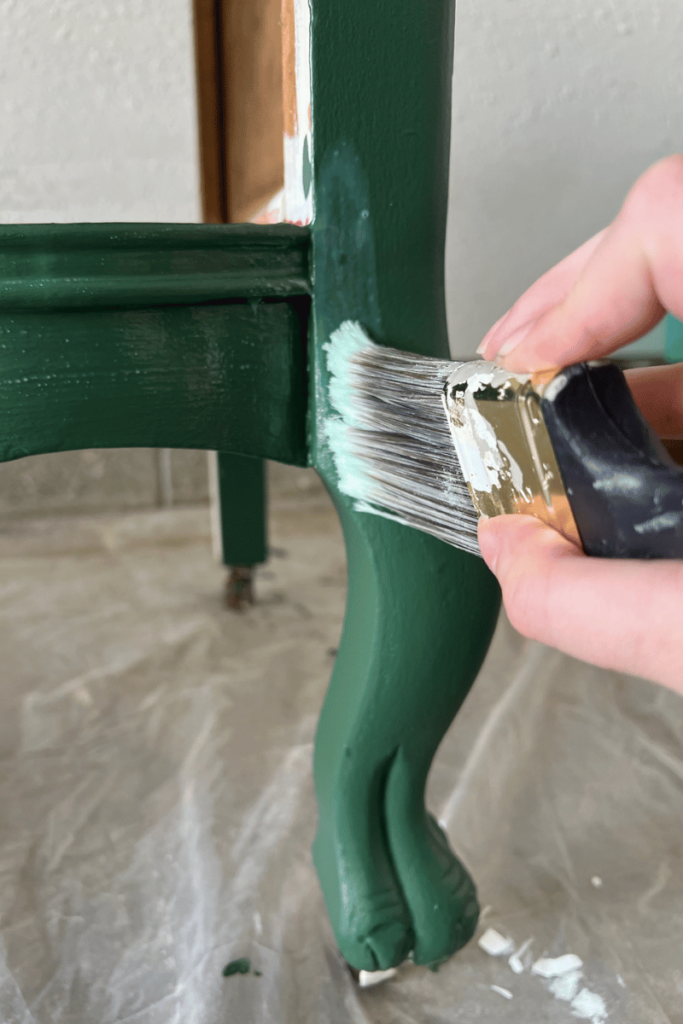
Once your coat of primer is dried the next step is to paint the furniture the color you chose.
Use a paintbrush to get the corners and hard-to-get places and a roller for all the flat surfaces. This will ensure a nice, clean, and smooth surface of paint.
Depending on the color you chose and the color the side table was will determine the amount of coats your side table will need. (I needed to give my side table 3 coats before I was happy with it.)
Tip: Make sure the paint is completely dry before applying another coat.
Step 7: Poly
Step 7 is applying one coat of poly.
This is a step you can choose to skip (I sometimes do).
Poly is used to protect your side table surface from water and scratches to help make the piece last longer.
With that said think about where you are using the side table and decide if you need to take the extra time and apply the poly.
(These side tables are going into my son’s bedroom, so an extra step of protection was important to me.)
Step 8: Remover Painters Tape
This step of removing the painters tape is one of my favorites. It is so satisfying watching the tape come off and seeing a nice crisp line of a fresh coat of paint.
Taking the painters tape off gives you your wow moment. (Wow! That looks good!)
Step 9: Hardware
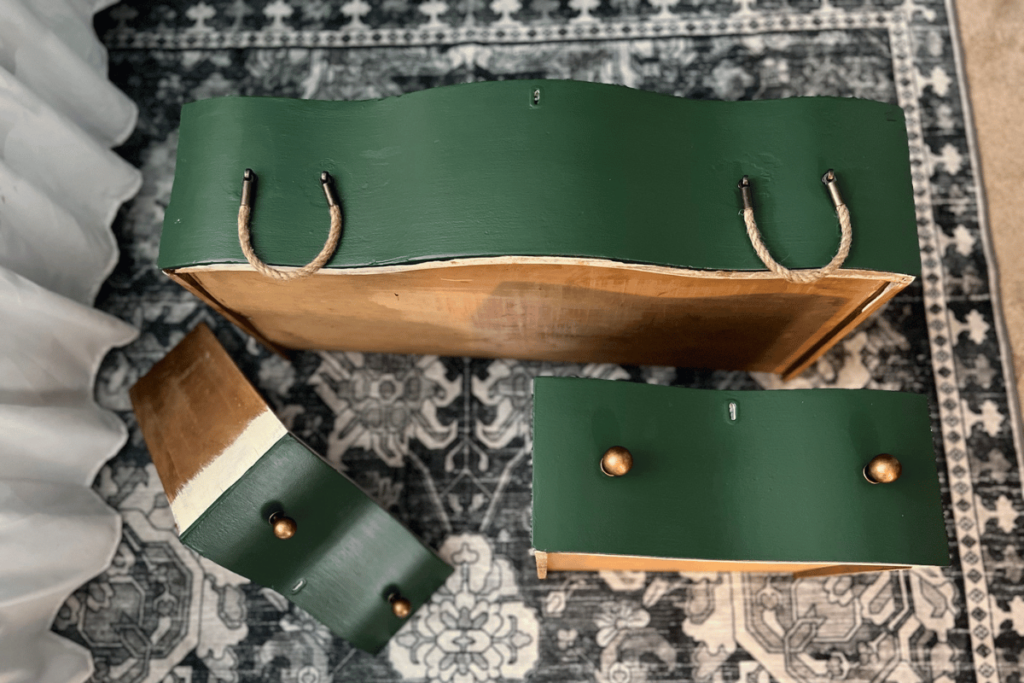
Time to put on your hardware!
Always remember the details matter. Hardware is a little detail that makes your piece pop.
Once your hardware is on it is time to move to the next and final step.
Step 10: Enjoy Your Refinished Side Table
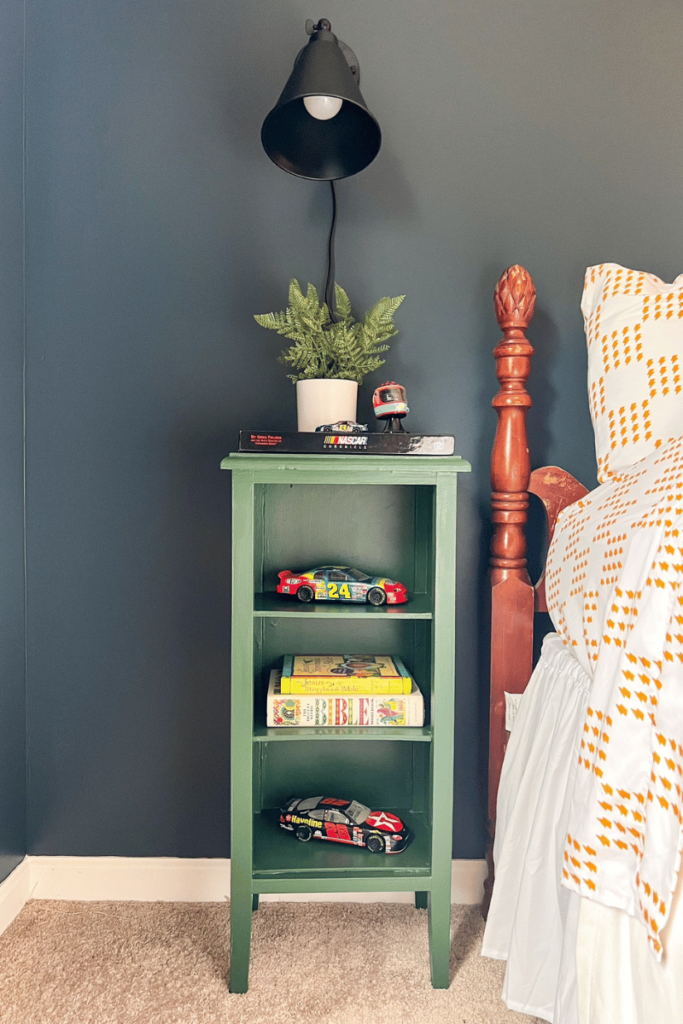
Finally, place your newly refinished side table where it belongs and where you have dreamed about it looking so good! And it does!
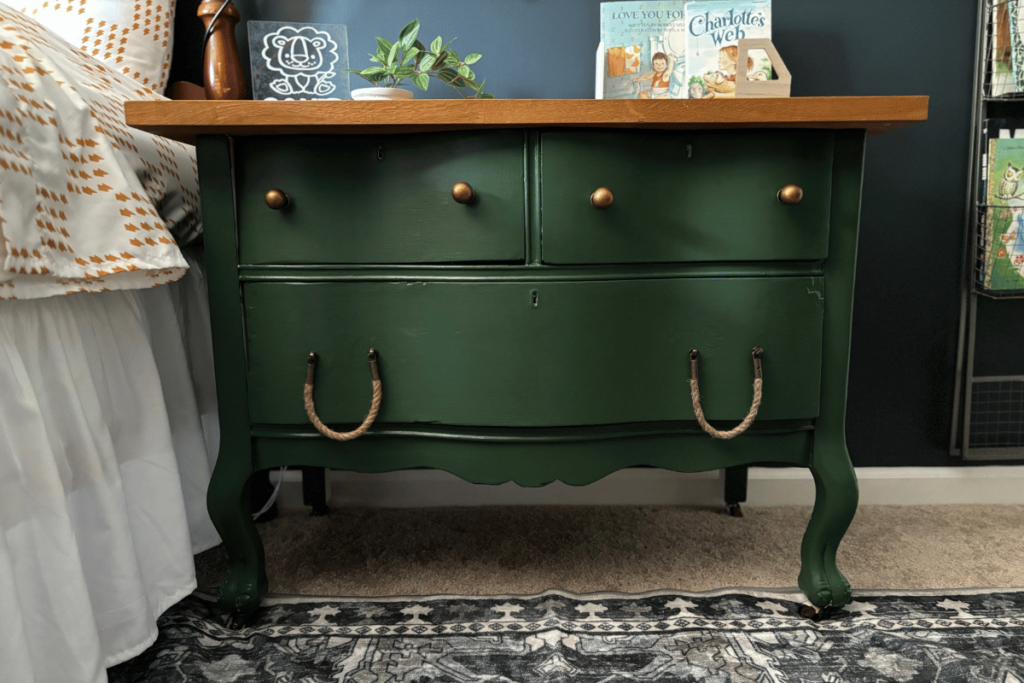
DIY Refinish a Side Table
Doing any DIY furniture project is hard work, but the reward of knowing you turned a furniture piece into something you love is totally worth it.
Hopefully this blog post inspires you and show you, you too can refinish your own side table!
If you liked this post and want to learn about another furniture piece refinish I did you will also love this post, How to refinish an old secretary desk!


