Disclosure: This post may contain affiliate links for products I use and love. If you make a purchase through one of the links I can make a small commission at no extra cost to you. Please see my Disclosure Policy here for more details.
Are you looking for how to refinish a secretary desk? If you are keep reading to find out how I refinish my own desk. I love a good refinishing project!
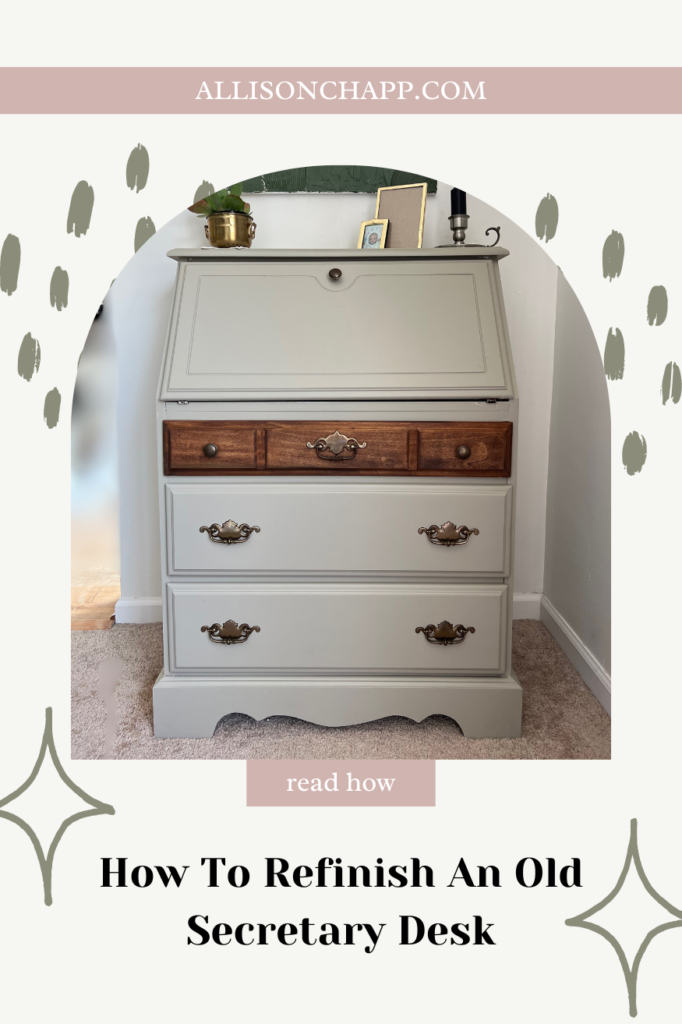
DIY Refinish Secretary Desk
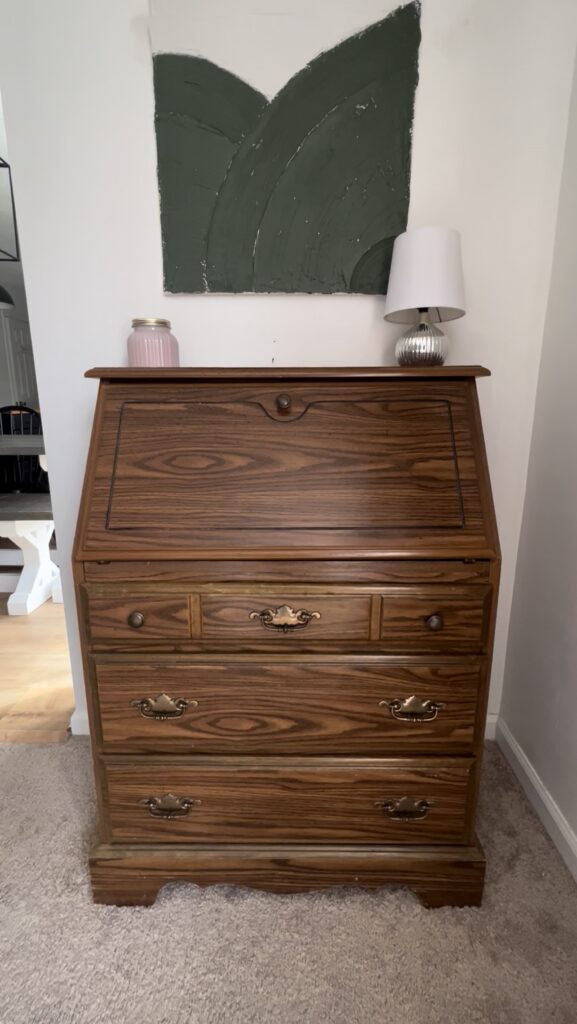
Well, I did it again. I bought another piece of furniture off Facebook Market Place for really cheap. This time I found a secretary desk from the looks of it from the 90’s for only $20. I love finding a good deal and coming up with ways to save money! You can find more ways I like to save money on this blog post.
I had been looking for a secretary desk to help me organize everything that I use for this blog and this secretary was perfect for the perfect price.
Before and After

Supplies
- Your secretary desk
- Screwdriver
- Sander and Sandpaper (I used 120 grit)
- Painting supplies; Paintbrush, Paint roller
- Rag (for stain)
- Gloves
- Primer https://allisonchapp.com/Paint Primer
- Paint; Behr Garden Wall
- Optional: Polyurethane Top Coat https://allisonchapp.com/Poly Top Coat
Steps To Refinish Secretary Desk
Step 1- Plan and Carry Where You Plan on Doing the Work
Before you can begin to do anything you must plan out your project first. I start by deciding if I want to paint or stain the piece of furniture. In this case, most of the secretary desk was a vennear and the drawers are real wood. So I decided to do a bit of both, paint all but the top drawer of the desk.
From there I chose finishing details: paint colors, use original or new hardware, wallpaper the inside of the drawers, etc.?
Finally, you can start preparing the furniture piece, in this case, the secretary desk. We took out the drawers and carried them to the garage where I would begin working on the project.
You can see in the picture that I also put down a tarp to keep my mess at bay.

Step 2- Take off Hardware
This is a simple step that should not take a ton of time. Grab a screwdriver or drill and take off all the original hardware. Put all the hardware and the screws into a plastic baggie and put the baggie where you will not lose it.

Step 3- Sand
The next step is to sand. If you have a sander use that to get all the flat easy places on the secretary desk then go back in with just your hand and sandpaper to get the edges and harder to get places where the sander can not get.
If you do not have a sander that’s okay! Just use your hand and sandpaper to sand it all down. The sander makes it easier and faster but is not needed (you get a good workout without the sander).
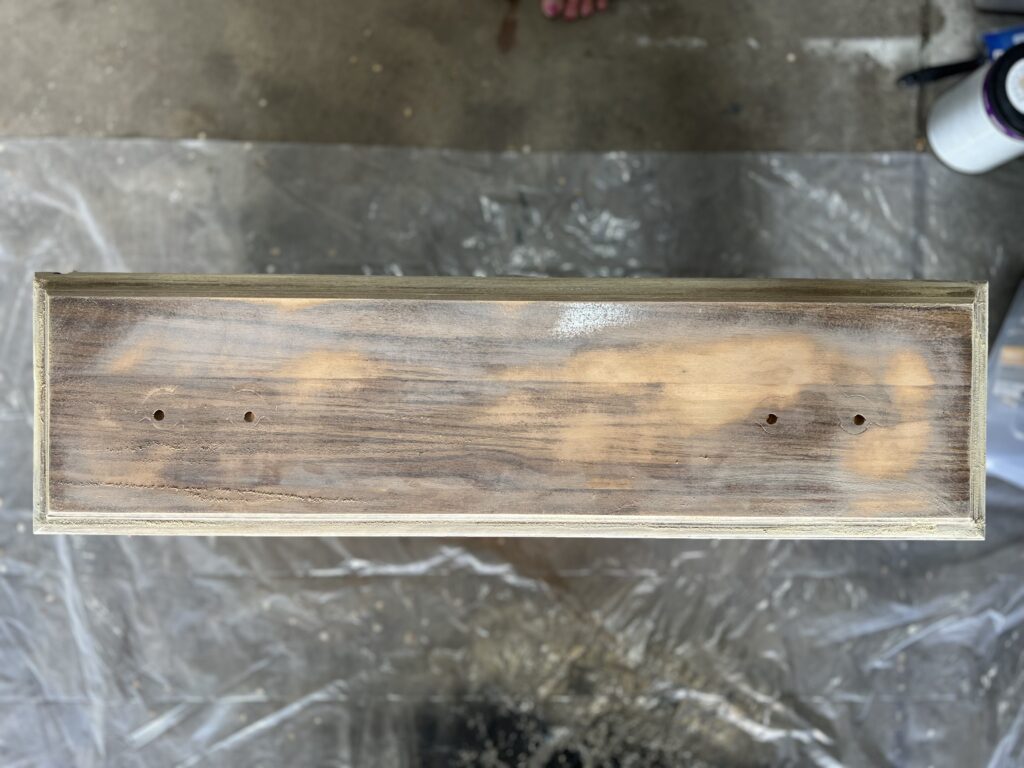
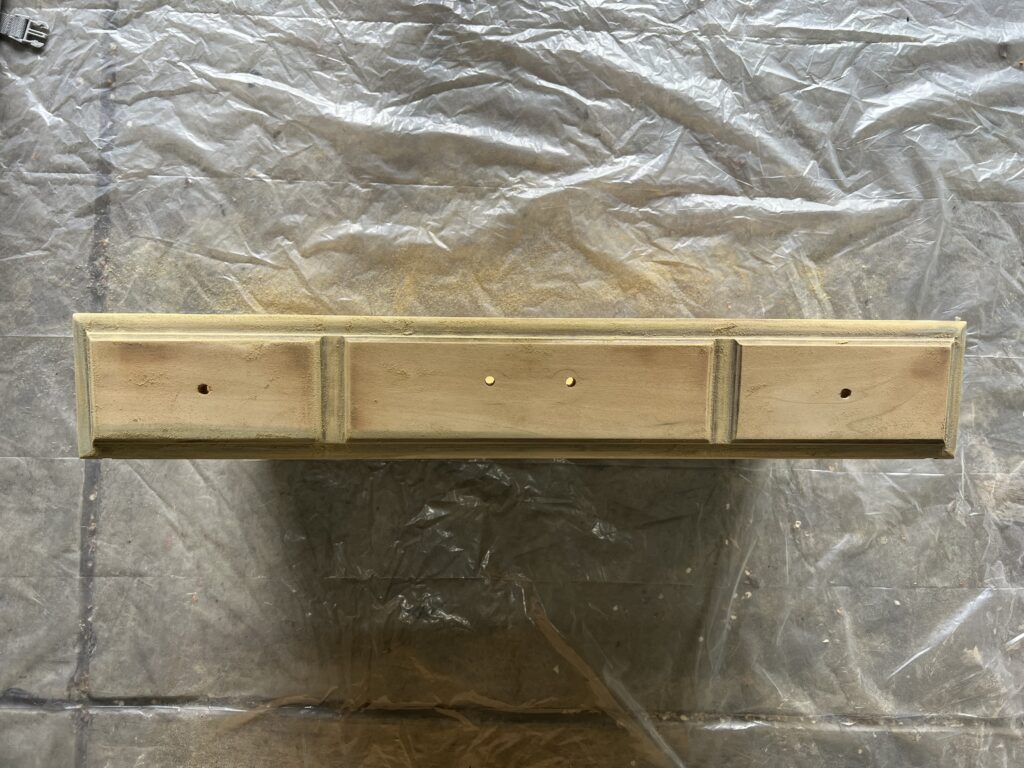
Painting the desk? You are just looking to rough it up if so. You do not need to sand it all the way down. If you are staining you will need to sand it all the way down and get all the finish off.
You will see in the pictures how I just roughed up all but one drawer and that one drawer I sanded all the way down because I plan on staining it.

Step 4- Prime
The following step is to prime the secretary desk with paint primer. Just one coat will do.

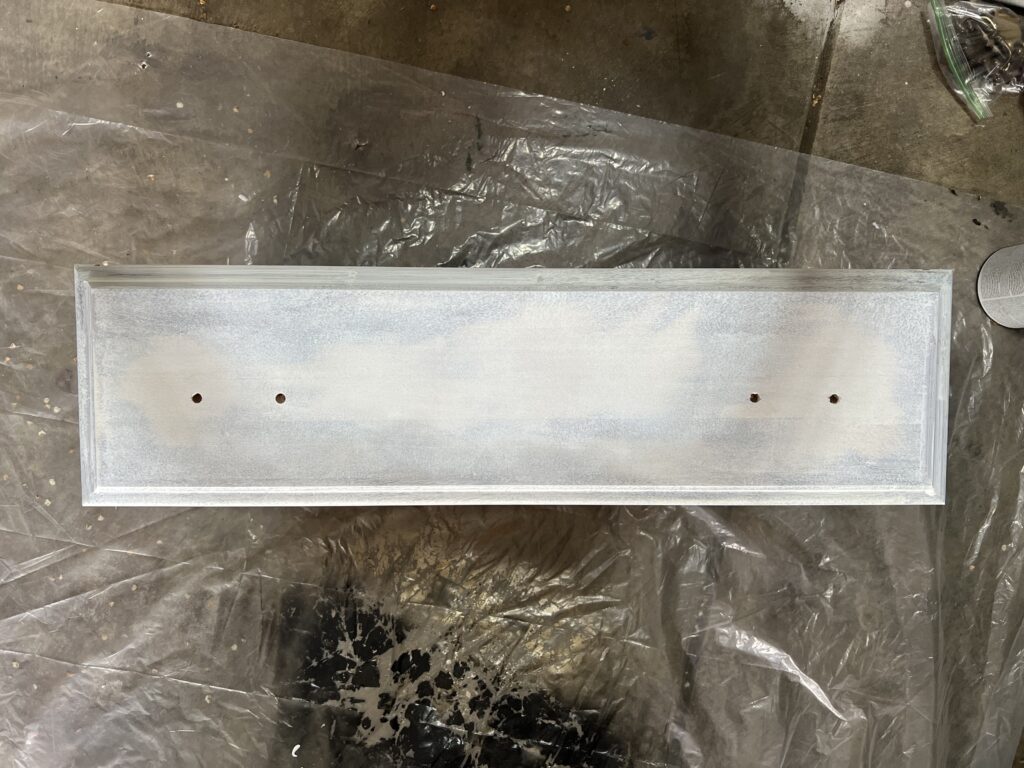

Step 5- Paint
The next step is to go in and start painting the piece with the color you choose. A tip to follow is to apply even coats and not apply the paint too thick. It is better to have to do another coat than to have the paint not look good. I ended up needing to apply two coats. You may differ depending on the type of material you are working on and the paint you are using.

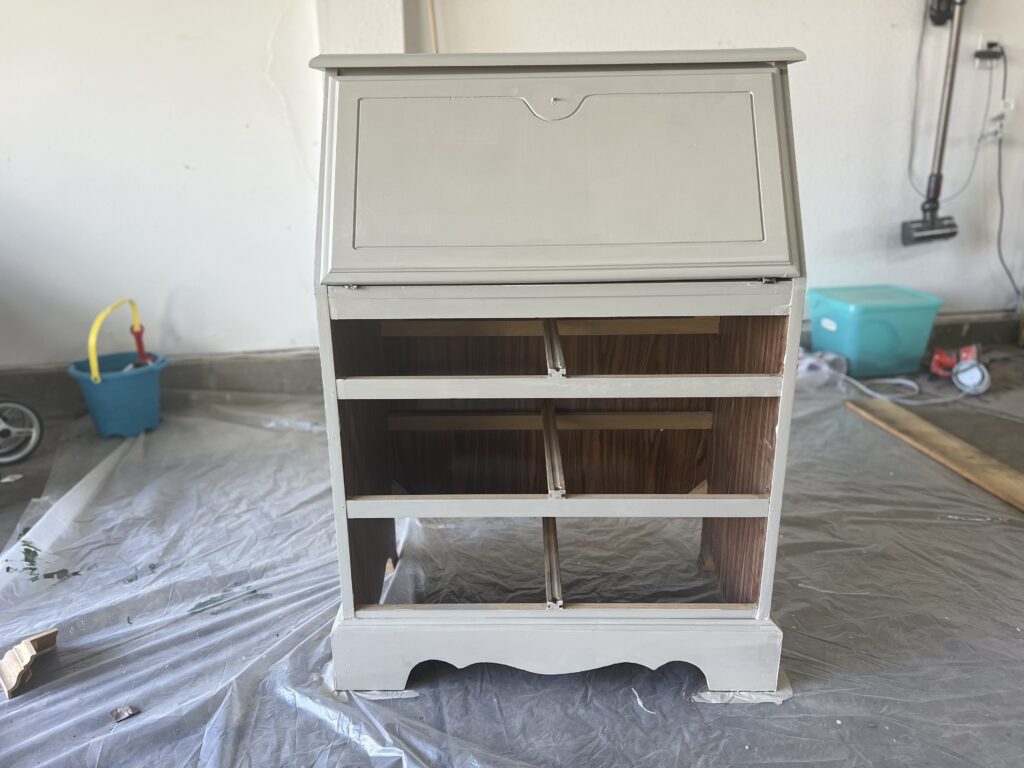
Step 6- Stain
While the paint is drying go ahead and apply the stain to the drawer or drawers that you did not paint.
For this, you need your stain choice, gloves, and a rag to apply the stain. (I just used a pre-fold cloth diaper insert that my son had outgrown as my rag.)
I applied one coat late one night and then waited till the next day to do the next and final coat, for the stain needs a while to dry in between coats.
Step 7- Ploy Coat (Optional)
This is an optional step. (I honestly skipped this step this time around.)
If it is a piece that you want to keep looking good longer or you plan on setting drinks or food on it, I highly recommend applying a ploy coat to your piece of furniture. (I may already have toy car wheel marks on my desk. The joys of being a boy mom.)
Step 8- Hardware
Once everything is dry go ahead and put the hardware on. Either put on the original hardware or if you want to go with a new look and add some new hardware.
I honestly had plans to put new hardware on my secretary desk with hardware that I already had. Because it was hardware that I already had and did not buy specifically for this piece the pulls were not the right size and I would have to make new holes for them. I decided to put the original hardware just to see and ended up liking it the original, so I ended up saving myself time.
All that to say, sometimes you have to pivot your plans and that is okay!
(How can you use the word “pivot” and not add this GIF?)
Once the hardware is on you are going to start being super excited and it is going to look so good!
Step 9- Finish
Move your secretary desk back to the place it belongs and style it. And look at you! You finished a DIY all on your own and it looks amazing!
Refinishing Secretary Desk
Hopefully, you had fun following along with me and refinishing the secretary’s desk!
You can find another one of my DIY refinishing an art canvas here.
And if you are like me and buy random pieces of furniture on Facebook Market Place or like to do other DIY projects follow along to hear about my next projects in the future! You never know what I might find next!


